4 Cleaning Techniques in Excel


Knowing how to clean data in Excel is one of the fundamental skills you need to know well to be an analyst. It’s also relevant if your goal is to become a data scientist. Sure, a data scientist is more likely to clean data using programming languages like Python and R. Still, on the occasions that they’re dealing with smaller data sets that fit in Excel, they will likely perform cleaning in Excel.
I will share some fundamental and straightforward Excel data cleaning techniques in this blog.
Something you may be wondering is how you identify what to clean. What do you look for? Generally, we start with formatting and standardization. Please check out my blog on 8 steps to clean your data for more details.
These are the techniques we’re going to look at:
- Removing duplicate rows
- Changing the case of text
- Removing spaces
- Reformatting Date using Text to Column
Before performing any cleaning, keeping a copy of the original is a good idea because, through the process, you’ll be permanently deleting data and making changes.
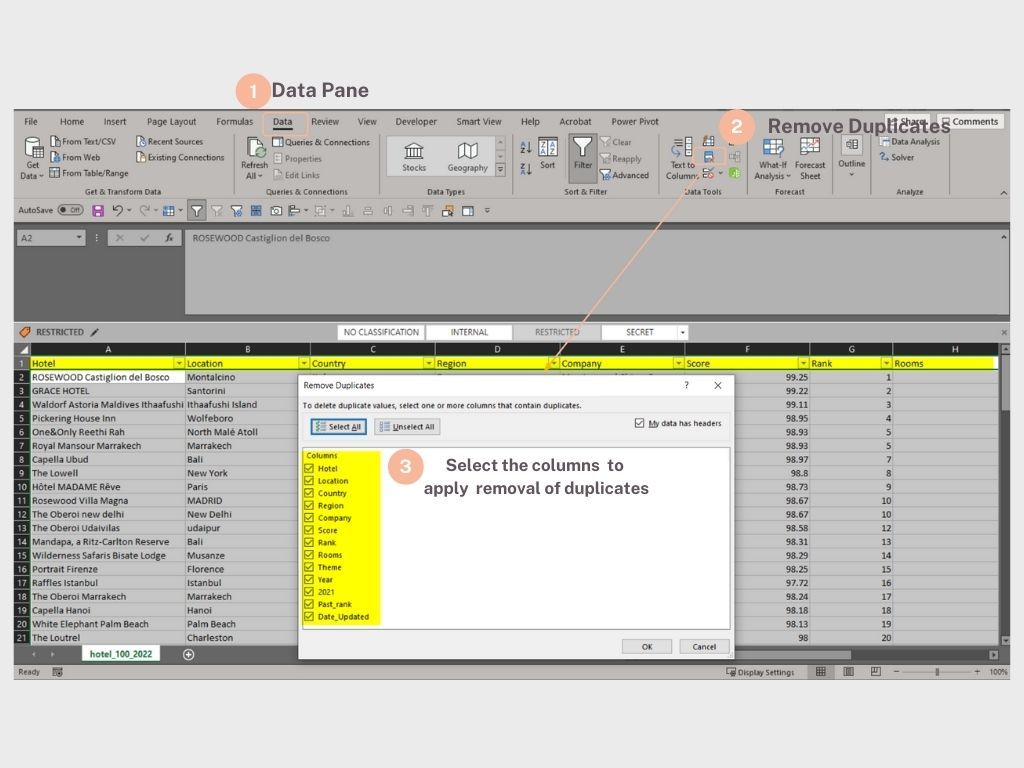
1. Removing duplicate rows
Duplicate rows are a prevalent problem. To remove duplicate values, click Data> Remove Duplicates. Note that a dialogue box pops up when you click on the Remove Duplicates button. In the dialogue box, you select the columns on which you want this action to be performed. Note that where multiple columns are selected, Excel is searching for a duplicate in each of the columns. It is only when every single value of the selected columns is a match then it removes the duplicate.
Excel keeps the first occurrence of the duplicate record. Subsequent occurrences are permanently deleted. Another important thing to note is that data will be removed from all columns even if you don’t select all the columns at this step.
For instance, if I select Hotel, Location, and Country, the “key” used to find duplicates is the value in the Hotel, Location and Country columns. If a duplicate is found in those 3 columns, then the entire row of data will be removed.
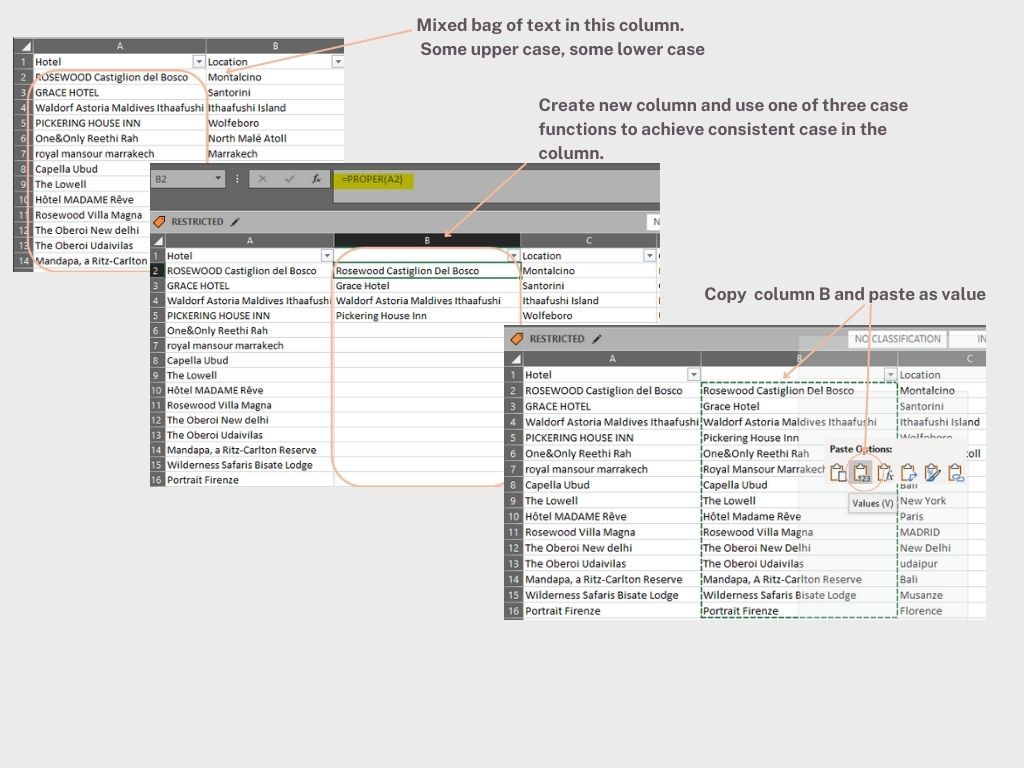
2. Changing the case of text
Quite often, text comes in all sorts of mixes. You have upper case, lower case or mixed cases. Excel has 3 case functions that allow you to achieve consistency in a single column:
- LOWER: converts all uppercase letters in a text string to lowercase letters. Syntax:
LOWER(text) - PROPER: capitalizes the first letter in a text string and converts all other letters to lowercase letters. Syntax:
PROPER(text) - UPPER: Converts text to uppercase letters. Syntax:
UPPER(text)
As illustrated in the image below. Typically, you would insert a column next to the row to which you want the case functions to be applied and point the text argument in the case function to a cell. Once that’s done, you copy the data in the column and paste it as values in the same column. The original column A can then be removed.
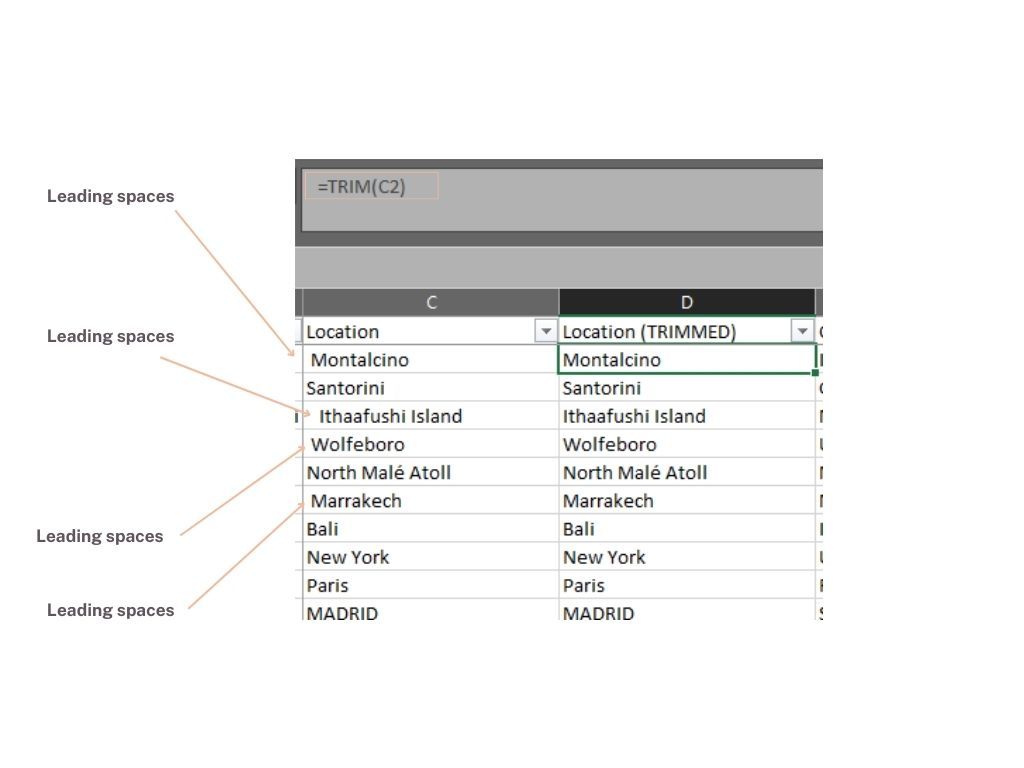
3. Removing Spaces
Stubborn leading and trailing spaces are common problems. Leading spaces are more visible, but trailing spaces are hard to spot. They are a nuisance; they can cause unexpected results when you sort, filter or search. Quite often, people make typographical errors by inadvertently adding extra space characters. To remove these unwanted spaces, use the function TRIM.
Syntax: TRIM(text)
4. Reformatting Dates Using Text to Column
Dates are often a critical part of data analysis. We often ask questions that are associated with dates. While it’s important, it is also a source of headache because there are so many different date formats. Dates often need to be converted and reformatted. There are many methods to reformat dates. I’m going to show you one that’s not often mentioned. It’s reformatting text using the Text to Column tool. This tool is very versatile for fixing data imported from other systems. It can do more than what I’m showing you, such as parsing data. I recommend that you spend some time playing around with the options.
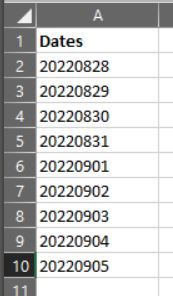
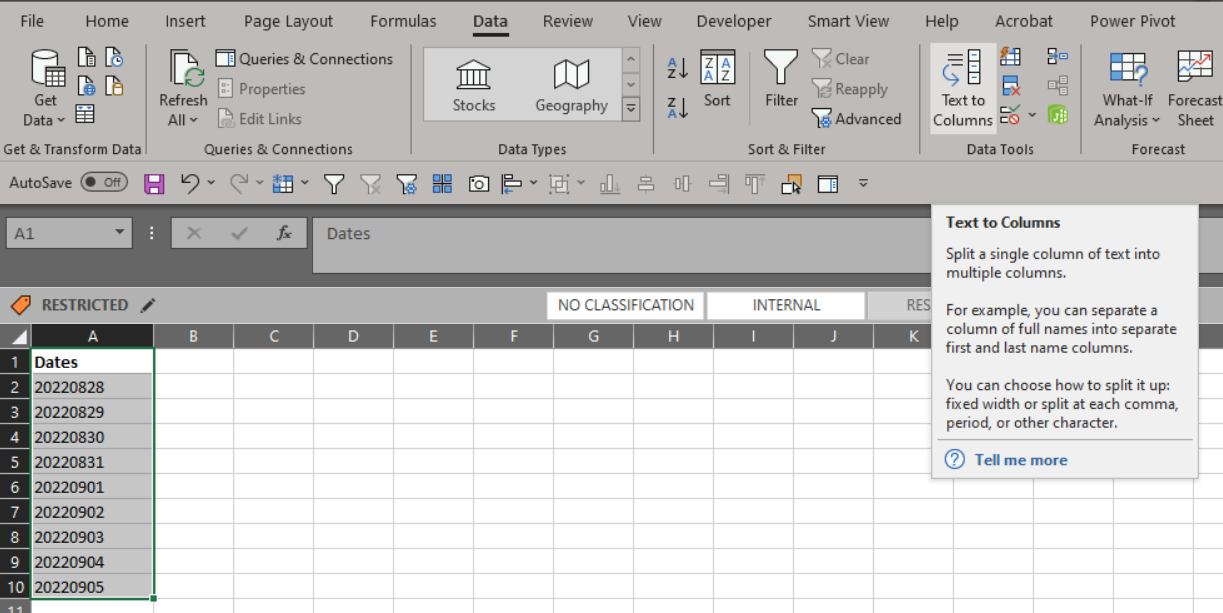
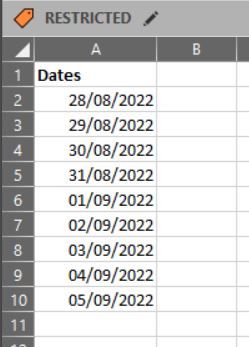
Text to Column is a tool you can use if your dates are formatted in text strings like this:
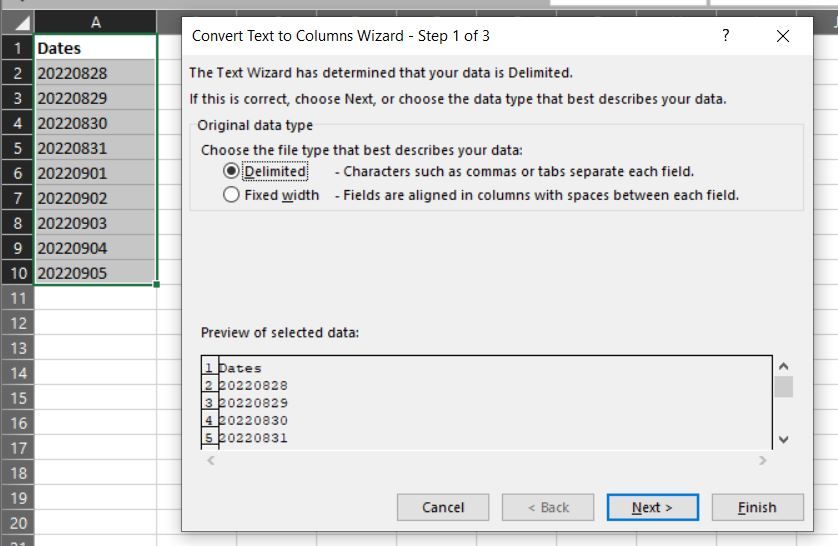
Select your dates, then go to Data> Text to Columns. This will open the Wizard.
In the Wizard, Step 1: Choose “Delimited”
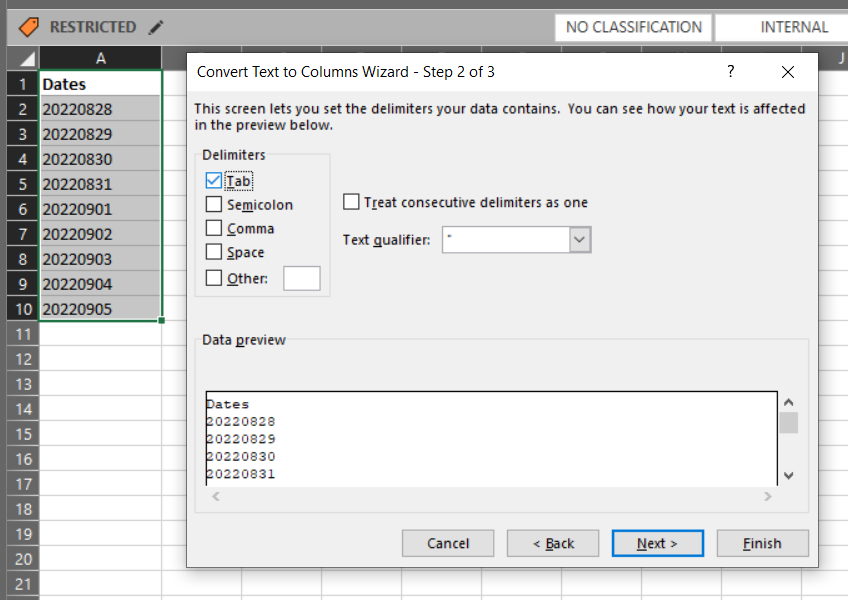
Step 2: Uncheck all Delimiters
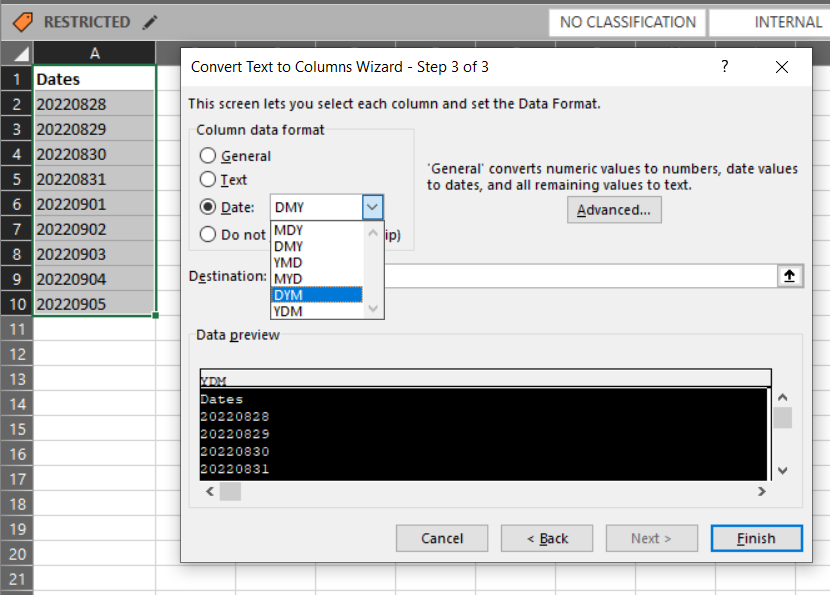
Step 3: Choose “Date” from the “Column Data Format” options and choose your date format from the drop-down list. In my case, the format I have is YMD- Year Month Day, and click the Finish button.
And tada~
These are some of the techniques used for cleaning. There are more, especially around dates. In a future blog, I’ll share some cleaning techniques in Power Query, so stay tuned!